
Changing a bathroom faucet may seem like a daunting task, but with the right guidance, it can be a relatively straightforward DIY project. Whether you're looking to upgrade your bathroom's aesthetics or replace a leaky faucet, this step-by-step guide will help you through the process. In this comprehensive blog, we'll provide you with an in-depth tutorial on changing a bathroom faucet. We'll cover everything from the tools you'll need to the final touches, ensuring you can complete this project with confidence.
1. Gather Your Tools and Materials
Before you start, it's crucial to gather all the necessary tools and materials to streamline the faucet replacement process. Let's take a closer look at each item:
- Adjustable wrench: This versatile tool will be your best friend throughout the project, as it's essential for loosening and tightening various connections.
- Pipe wrench: A pipe wrench is handy for dealing with any stubborn or hard-to-reach nuts or connections.
- Plumber's tape: Also known as Teflon tape, this helps create a watertight seal, preventing leaks at threaded connections.
- Screwdrivers: Having both flat-head and Phillips-head screwdrivers is beneficial for handling different types of fasteners.
- Plunger: A plunger can be useful to block the drain while you're working on the faucet, preventing any dropped parts from disappearing down the drain.
- Bucket or towel: Use a bucket to catch water from disconnected lines, and lay down towels to protect your cabinet and floor from spills.
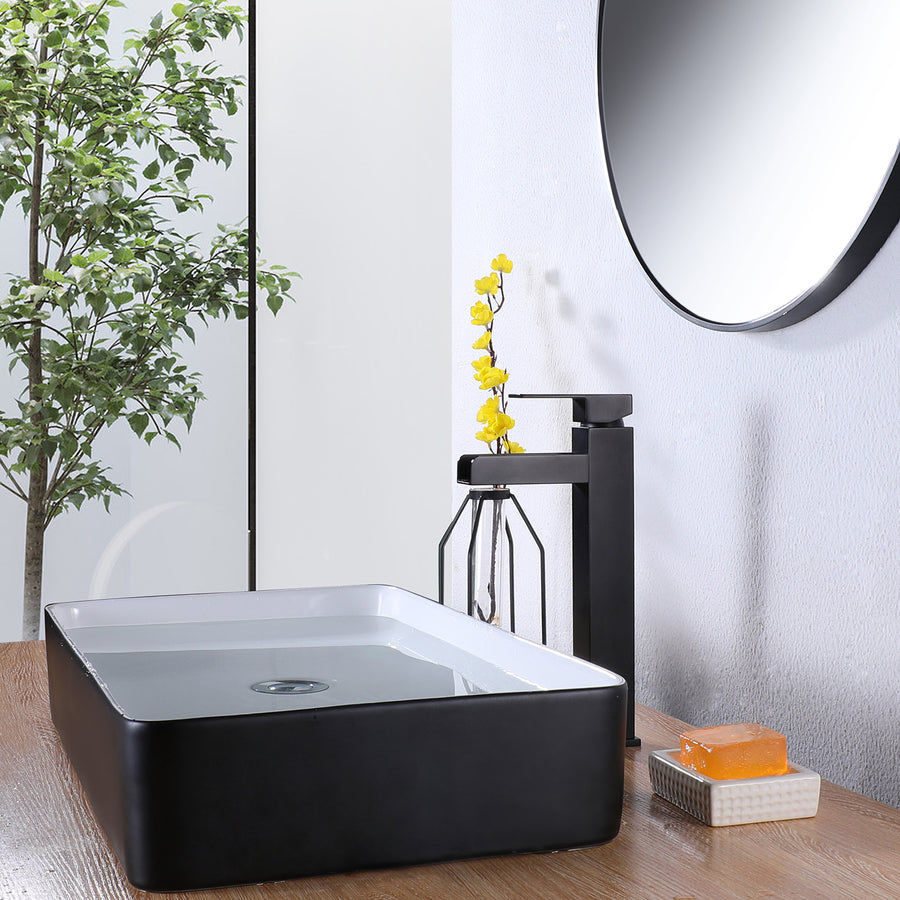
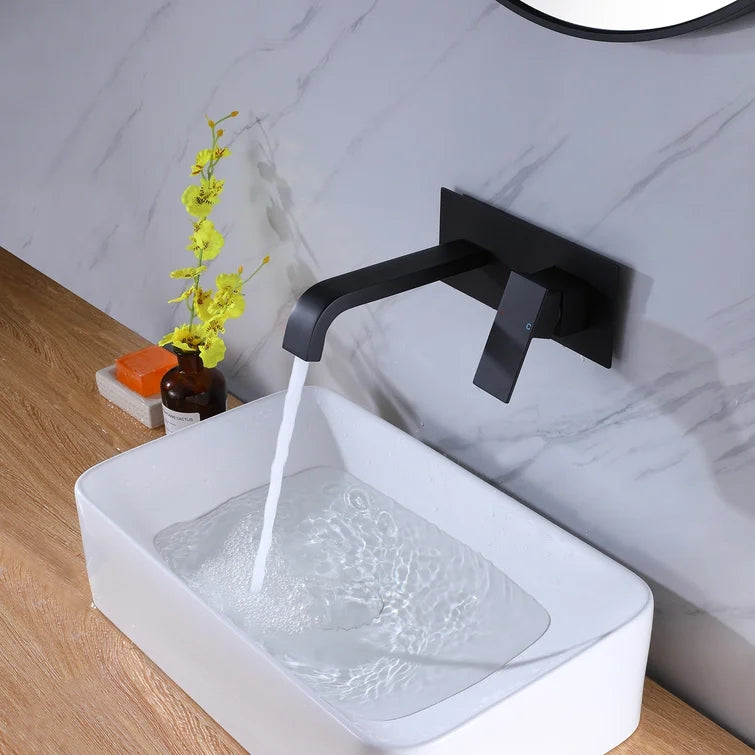
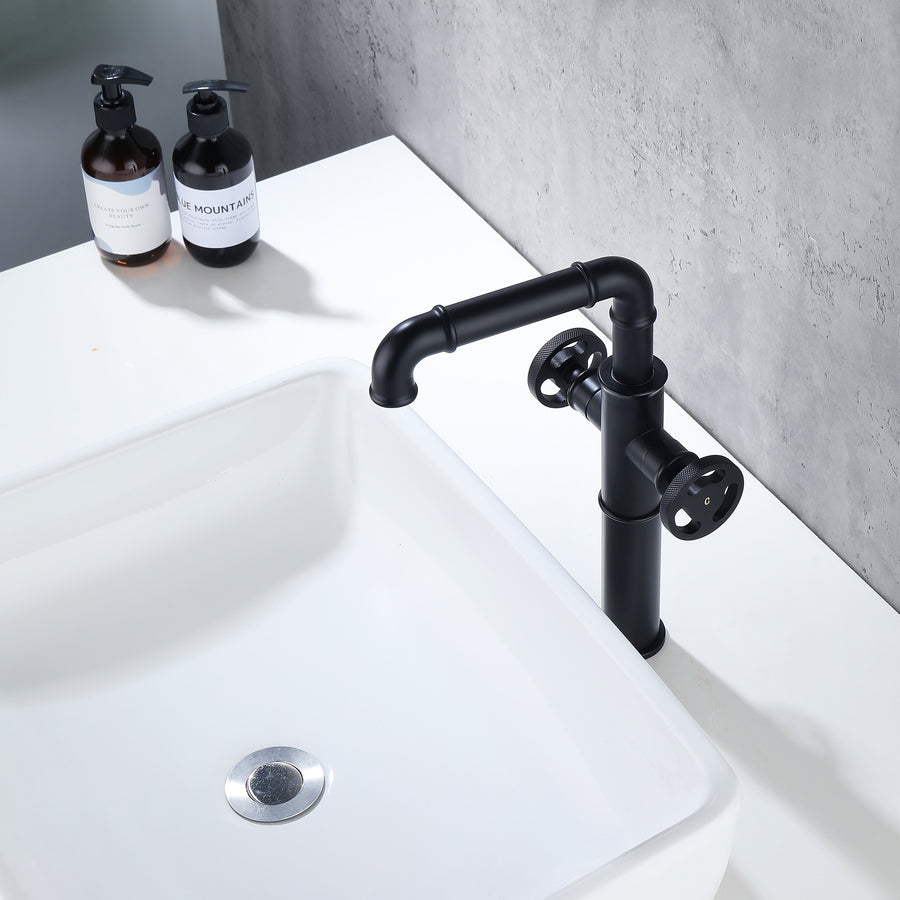
- Replacement faucet: Make sure your new faucet matches the holes in your sink and complements your bathroom decor.
- New water supply lines (if needed): Inspect your old supply lines and replace them if they show signs of wear or damage.
- Plumber's putty (for some faucet types): Check the manufacturer's instructions for your new faucet; some may require the use of plumber's putty for a secure seal.
Having these items on hand will save you time and frustration as you work through the installation process. The specific tools required may vary depending on your old and new faucet types, so be sure to check the manufacturer's instructions for any additional recommendations.
2. Turn Off the Water Supply
The first step in changing a bathroom faucet is to turn off the water supply. It's a vital safety measure to prevent water damage or accidents. Let's delve deeper into this process:
-
Locate the Shut-off Valves: These valves are typically found under the sink and are connected to the water supply lines leading to the faucet. There are usually two valves: one for hot water and one for cold water.
-
Turn the Valves Off: To shut off the water supply, turn the valves clockwise (to the right). You may need to use a wrench for this if they are difficult to turn. Be gentle but firm, as overtightening can damage the valves.
-
Release Any Remaining Water: Once you've turned off the water supply, open the faucet to release any remaining water in the lines. This step ensures that you won't have unexpected water flow while working on the faucet.
With the water supply off, you can proceed with confidence, knowing you won't face unexpected water leaks.
3. Remove the Old Faucet

Removing the old faucet can be a bit tricky, but with the right steps, it's manageable. Here's a detailed breakdown of the process:
-
Disconnect the Water Supply Lines: Use your adjustable wrench to disconnect the water supply lines from the old faucet. Be prepared for some residual water to drain into a bucket or towel.
-
Remove the Old Faucet: Most faucets are secured to the sink with nuts located underneath. Use your wrench or pliers to remove these nuts. Be patient, as some nuts may be tightly fastened.
-
Clean the Area: After removing the old faucet, it's important to clean the mounting area thoroughly. Remove any old putty, caulk, or debris. A putty knife or scraper can be useful for this task.
Cleaning the area not only ensures a smooth installation but also provides a clean, fresh canvas for your new faucet.
4. Prepare the Mounting Surface
A smooth and clean surface is essential for a successful faucet replacement. Use a putty knife or scraper to remove any old plumber's putty, caulk, or debris from the mounting area. Ensure it's dry before proceeding with the installation of the new faucet.
Preparing the mounting surface ensures that your new faucet will sit securely and that no debris interferes with the installation process.

5. Install the New Faucet
The installation of the new faucet is where you'll see your efforts come to fruition. While the specific steps can vary based on the faucet type and brand, here's a general overview:
-
Apply Plumber's Putty (If Required): If your faucet instructions recommend it, apply a thin, even layer of plumber's putty to the base of the faucet. This putty creates a watertight seal.
-
Position the Faucet: Carefully position the new faucet in the mounting holes, ensuring it's aligned correctly with the sink. Take your time to ensure it's level and centered.
- Secure the Faucet: Underneath the sink, secure the faucet in place using the provided nuts. These nuts are usually included with the new faucet. Tighten them with your wrench until the faucet is stable.
-
Attach the Water Supply Lines: Connect the water supply lines to the faucet. Make sure to use plumber's tape to create a watertight seal. Wrapping the tape clockwise around the threads will help create a secure connection.
The installation of the new faucet is a pivotal moment in the process, and it's essential to ensure a secure fit and watertight connections.
6. Connect the Water Supply Lines
Properly connecting the water supply lines is crucial for avoiding leaks. Here's how to do it:
-
Use Plumber's Tape: Wrap plumber's tape clockwise around the threads of the faucet's water supply connections. This tape helps create a tight seal and prevents leaks.
-
Attach the Water Supply Lines: Connect the water supply lines to the faucet, ensuring a snug fit. Use your wrench to tighten them, but be careful not to overtighten, as it can damage the faucet or the lines. The goal is to create a secure connection without causing any damage.
Ensuring a proper connection will help prevent leaks and water damage in the long run.
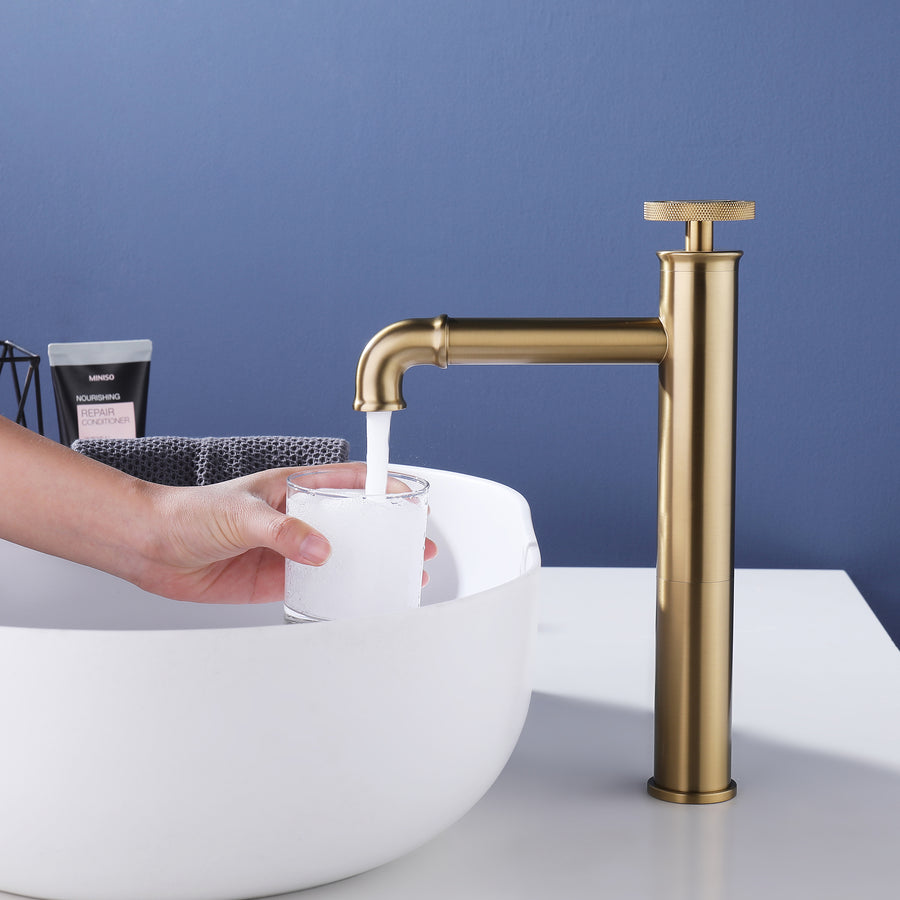
7. Test the Faucet

Before completing the project, it's essential to test the faucet to ensure there are no leaks or issues. Follow these steps:
-
Turn On the Water Supply: Slowly turn on the water supply by opening the shut-off valves beneath the sink. This should be done cautiously to ensure water flows without leaks.
-
Check for Leaks: Watch closely for any leaks around the faucet, connections, and water supply lines. If you notice any leaks, turn off the water supply, and address the issue by tightening connections or using more plumber's tape.
-
Operate the Faucet: Test both hot and cold water by operating the faucet handles. Make sure the water flows smoothly without any issues. Run the water for a few minutes to be certain.
-
Inspect for Drips: After using the faucet, check for any drips or water pooling around the sink. Address any issues promptly. Any drips or leaks should be resolved before you consider the project complete.
8. Clean Up and Final Thoughts
Once you're satisfied that the new faucet is working correctly and that there are no leaks, it's time to clean up the work area. Wipe down the sink and surrounding surfaces to remove any residue or debris from the installation process.
As a final thought, remember to keep the manufacturer's instructions and warranty information for your new faucet. Regular maintenance, like cleaning and checking for loose connections, can help extend the life of your new fixture.
If you encounter any unexpected issues, don't hesitate to consult a professional plumber for assistance. Sometimes, a professional opinion and expertise can help you address challenges that may arise during or after the installation.
Conclusion
Changing a bathroom faucet can be a satisfying DIY project that enhances your bathroom's aesthetics and functionality. With the step-by-step guide provided, you now have the knowledge and confidence to tackle this project successfully. By following the instructions, gathering the necessary tools, and taking your time, you can replace your old bathroom faucet with ease and enjoy the benefits of a brand-new fixture.
Remember, proper maintenance is key to a long-lasting, leak-free faucet, so don't forget to care for your new addition properly. If you encounter any unexpected issues, or if you're not comfortable with DIY plumbing work, don't hesitate to consult a professional plumber for assistance. Enjoy your new faucet and the refreshed look and functionality it brings to your bathroom.


