Introduction
Updating your bathroom faucet can instantly elevate the look and functionality of your sink area. While the task may seem daunting, fear not! With the right guidance, tools, and a can-do attitude, you can successfully replace your bathroom faucet without the need for a professional plumber. In this comprehensive guide, we'll walk you through the process of replacing your bathroom faucet while addressing common questions and providing valuable tips along the way.

I. Preparing for the Faucet Replacement
- Understanding the benefits of replacing your bathroom faucet
- Tools required for the job and their significance
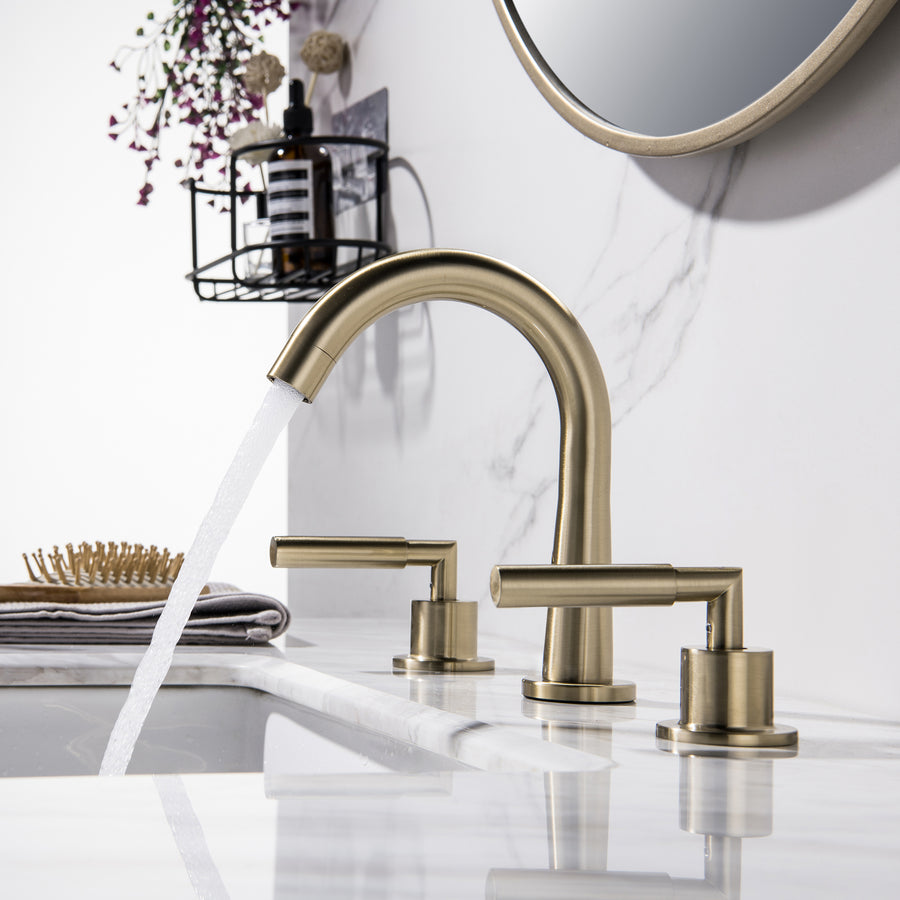
- Choosing the right faucet style, finish, and water efficiency features
- Identifying the number of holes in your sink and selecting a compatible faucet
II. Removing the Old Bathroom Faucet
- Safely turning off the water supply and relieving pressure
- Disconnecting the water supply lines without causing a mess
- Removing the drain stopper (if applicable)
- Loosening the faucet nuts and lifting the old faucet out
III. Installation Process for Your New Bathroom Faucet
- Applying plumber's putty or caulk for a watertight seal
- Inserting and aligning the new faucet into the sink holes
- Securing the faucet in place with proper nut tightening
- Connecting the water supply lines to the faucet
- Testing for leaks and resolving any potential issues
IV. Troubleshooting and Common Mistakes to Avoid

- Understanding common errors during faucet replacement
- Avoiding over-tightening nuts and potential damage
- Double-checking connections and reapplying caulk if necessary
- Identifying and addressing leaks after installation
- Knowing when to seek professional help for persistent issues
V. Safety Precautions During Faucet Replacement
- Prioritizing safety while working on your DIY project
- Turning off the water supply to prevent accidents
- Protecting your eyes and hands with safety goggles and gloves
- Being cautious with hot water supply lines to prevent scalding
- Using the right tools to ensure a safe and efficient replacement
VI. Accessing Resources for Additional Help
- Exploring video tutorials on platforms like YouTube
- Utilizing detailed installation guides from faucet manufacturers
- Connecting with DIY communities for support and advice
1. FAQ: Is it difficult to remove an old bathroom faucet before replacement?
Answer: Removing an old bathroom faucet can be relatively straightforward with the right tools. Using an adjustable wrench and basin wrench, carefully disconnect water supply lines and loosen faucet nuts.
2. FAQ: How do I troubleshoot leaks after installing my new bathroom faucet?
Answer: If you encounter leaks post-installation, start by checking all connections and ensuring proper nut tightening. Reapply plumber's putty or caulk if needed. If leaks persist, consider replacing damaged parts like washers or gaskets. If the issue persists, seek professional assistance to identify and address the underlying problem.
3. FAQ: Can I install a new bathroom faucet on a sink with one hole if I have a faucet designed for multiple holes?
Answer: Yes, you can. For sinks with fewer holes, use a deck plate or individual hole covers to accommodate the new faucet. Make sure to properly align and secure the faucet, ensuring a stable fit for long-lasting performance.
Conclusion
You are now equipped with the knowledge and confidence to embark on a successful bathroom faucet replacement project. Remember to follow the step-by-step process, consider safety precautions, and pay attention to details for a seamless installation. By choosing the right faucet, using proper tools, and troubleshooting potential issues, you'll achieve a stylish upgrade and enjoy the enhanced functionality of your bathroom sink. Happy DIY-ing!


